Sunday 21 February 2016

{Dorothy Moore} Lesson 4 Basic Top

I didn't have enough brown paper to draft the trousers pattern (Lesson 3) and for the Lesson 2 "Skirt Variations" I still have to get a few notions (I have drafted an A-Line Yoke skirt already) so I am continueing unchronologically with Lesson 4 - a basic top.

The basic top pattern is used for all other patterns following in the book -> sheath dress, blouses, coats... so it is really the centre of all pattern/clothes-making and thus it is important to fit it well.


You first draft a basic top pattern


which you then adjust to the waist measurements and add darts


After making a muslin top from the first foundation top pattern you have to make what she calls "minor adjustments" to adjust this pattern to your shape. e.g. wide shoulder blades, gaping neckline, armhole gap, round upper back, low bust point, smaller cup room ...
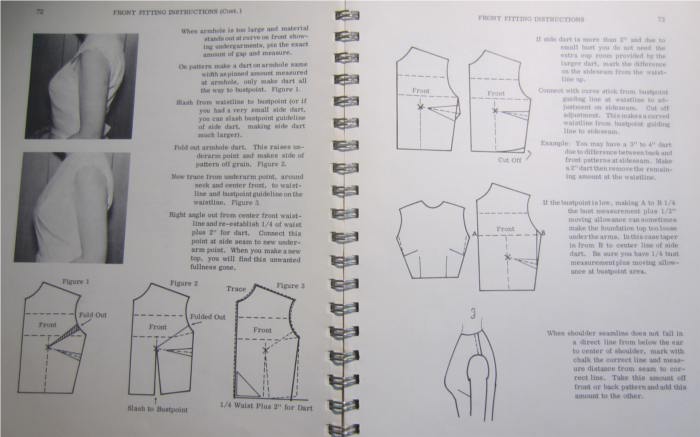
I needed to make adjustments for a gap at the front armhole  following these steps. I also noticed I had taken a slightly too wide "shoulder-to-shoulder" measurement, so noted the right measurement now and shortened the shoulder seam length by about 1 cm.


this what my pattern looks like (final version)


I forgot to take a picture of me wearing the mock-up, but this is what it looks like in its final version. :)


I really enjoyed the drawing for this pattern, it was really straight forward, the changes I had to make were minor and easy to do and I think I achieved an acceptable fit without too much effort.


After completing the Lesson 2 (Skirt Variations" A-Line Skirt with yoke) I am going to spend some time on a top with this pattern. It's going to be the green fan vest from Marilyn Monroes "Bauman sitting" (1954). To go with the dark blue pencil skirt from Lesson 1. ;)

Friday 19 February 2016

{Dorothy Moore} Lesson 1 Straight Skirt

Dorothy Moore's Patternsdrafting and Dressmaking

Lesson 1 - Straight Skirt


In other words...  how to draft a classic Pencil Skirt.


Out of general doziness I drafted the first skirt with wrong measurements and then started to wonder, why it didn't fit ... ah well.. so I drafted it again.
I then tried out a version for "big ratio for waist and lower hips/thighs", which suggested darts slanted towards the hip bone. I didn't quite like the outcome (hence no picture) and just went with the normal darts that I had to extend 1 inch in the skirt front piece to achieve a smoother fit in the mock-up.

This is what the drafting scheme looks like:


I wanted the pencil skirt to be quite "wiggly" so I didn't just use the straight skirt pattern but took the side seam in a bit: from the hip point I used the curve stick and tapered in slightly and then out again to the original seam. It's only about a centimetre (1/2 inch) at the most, but it does make a difference, I think.

I then stumbled across about 1,6m of a nice looking fabric at a local sale, and albeit being Polyester I took it with me (along with some lining fabric). It's a medium weight fabric suitable for suits in a very very dark blue. I don't usually go for Polyester. I don't ususally go for dark blue, either. :) The lining fabric is a very dark aubergine coloured Polyester (again...), I used the less shiny side as my "right" side. :)

I basted the fabric and lining together and then treated it as one layer (more in the sense of an underlining) because I wanted to try it out. :) The good thing about an underlining is that the nice outer fabric gets a bit of support and you can also make an invisible hem. I also inserted an "invisible" zipper. Now I might have to be careful I don't turn invisible myself. :)

I've not taken many construction pictures, it's just a skirt, really.

I fact I have only taken 1 construction picture. You can see the underlining with the darts marked and then center basted through all layers and partly pinned together.


And voilà, the all-over result:

[I am looking a bit strange on these... I've got a nasty cold and somebody elses's voice which didn't really make me feel like dressing up a lot and putting on make-up. I did make an effort putting on nice shoes, though.]

The skirt also needs a bit more ironing.. I know...


as you can see, you can't really see the kick pleat, but I promise, it's there...


For an easy step by step introduction on how to sew a pencil skirt for beginners refer to this site, her instructions are quite good and she's got a good sense of humour, too. :)
http://blog.tuppencehapenny.co.uk/2012/11/beginner-sew-along-1-yard-pencil-skirt.html