

I am reading the Gruffalo a lot with our little daughter and when I came to writing this post about my latest project, I couldn't help thinking in those words.
Anyway. It was a rather spontaneous project which had the purpose of keeping my mind busy (for various reasons) and being inexpensive. So, I've been thinking about a calash for some time and had looked at some pictures, and now the time was ripe.
I've still had plenty of reed and some silks left over.
Calash (or Calèche) is a horse carriage, really. (read more here at Wikipeda e.g. )
First a quick analyses of the calashes I used as examples. They can be found on the metmuseum.org homepage. Also refer to my pinterest board for more examples or this homepage, that has plenty of links to museums

http://www.metmuseum.org/collection/the-collection-online/search/116612?=&imgNo=0&tabName=related-objects
http://www.metmuseum.org/collection/the-collection-online/search/157763?img=1&imgNo=0&tabName=related-objects
If you follow the links you will find a few more photographs. The MetMuseum has some other Calashes from the 18th and early 19th century and also Pinterest is a good source for finding more pictures.
From those (and a few more, but let's not get overly into this) I have deducted the following things for my project:
1. The calash itself is based on a rectangle. The size of the rectangle is determined by the height and depth you want ot achieve. I noticed that in the above examples the boning seems to be "riding" on top of the calash. I assume, that first the lining is mounted to the outside fabric and then the tunnels are sewn through all layers. The reed probably has a distance of 2 inches. And in between there seems to be either a gathering stitch or an actual seem to allow that accordeon-like folding.
2. The back is either just the rest of the rectangle gathered and cut to fit into that sort of horse-shape OR it is a neatly cut flat extra piece of fabric and lining. Most calashes seem to have a ribbon in the back.
3. A ruffle (at least, could also extend to a "nearly-cape" length) was attached to the bottom of the calash and a ribbon in front to secure it and keep it in shape. Also seems to be a simple rectangle mostly.
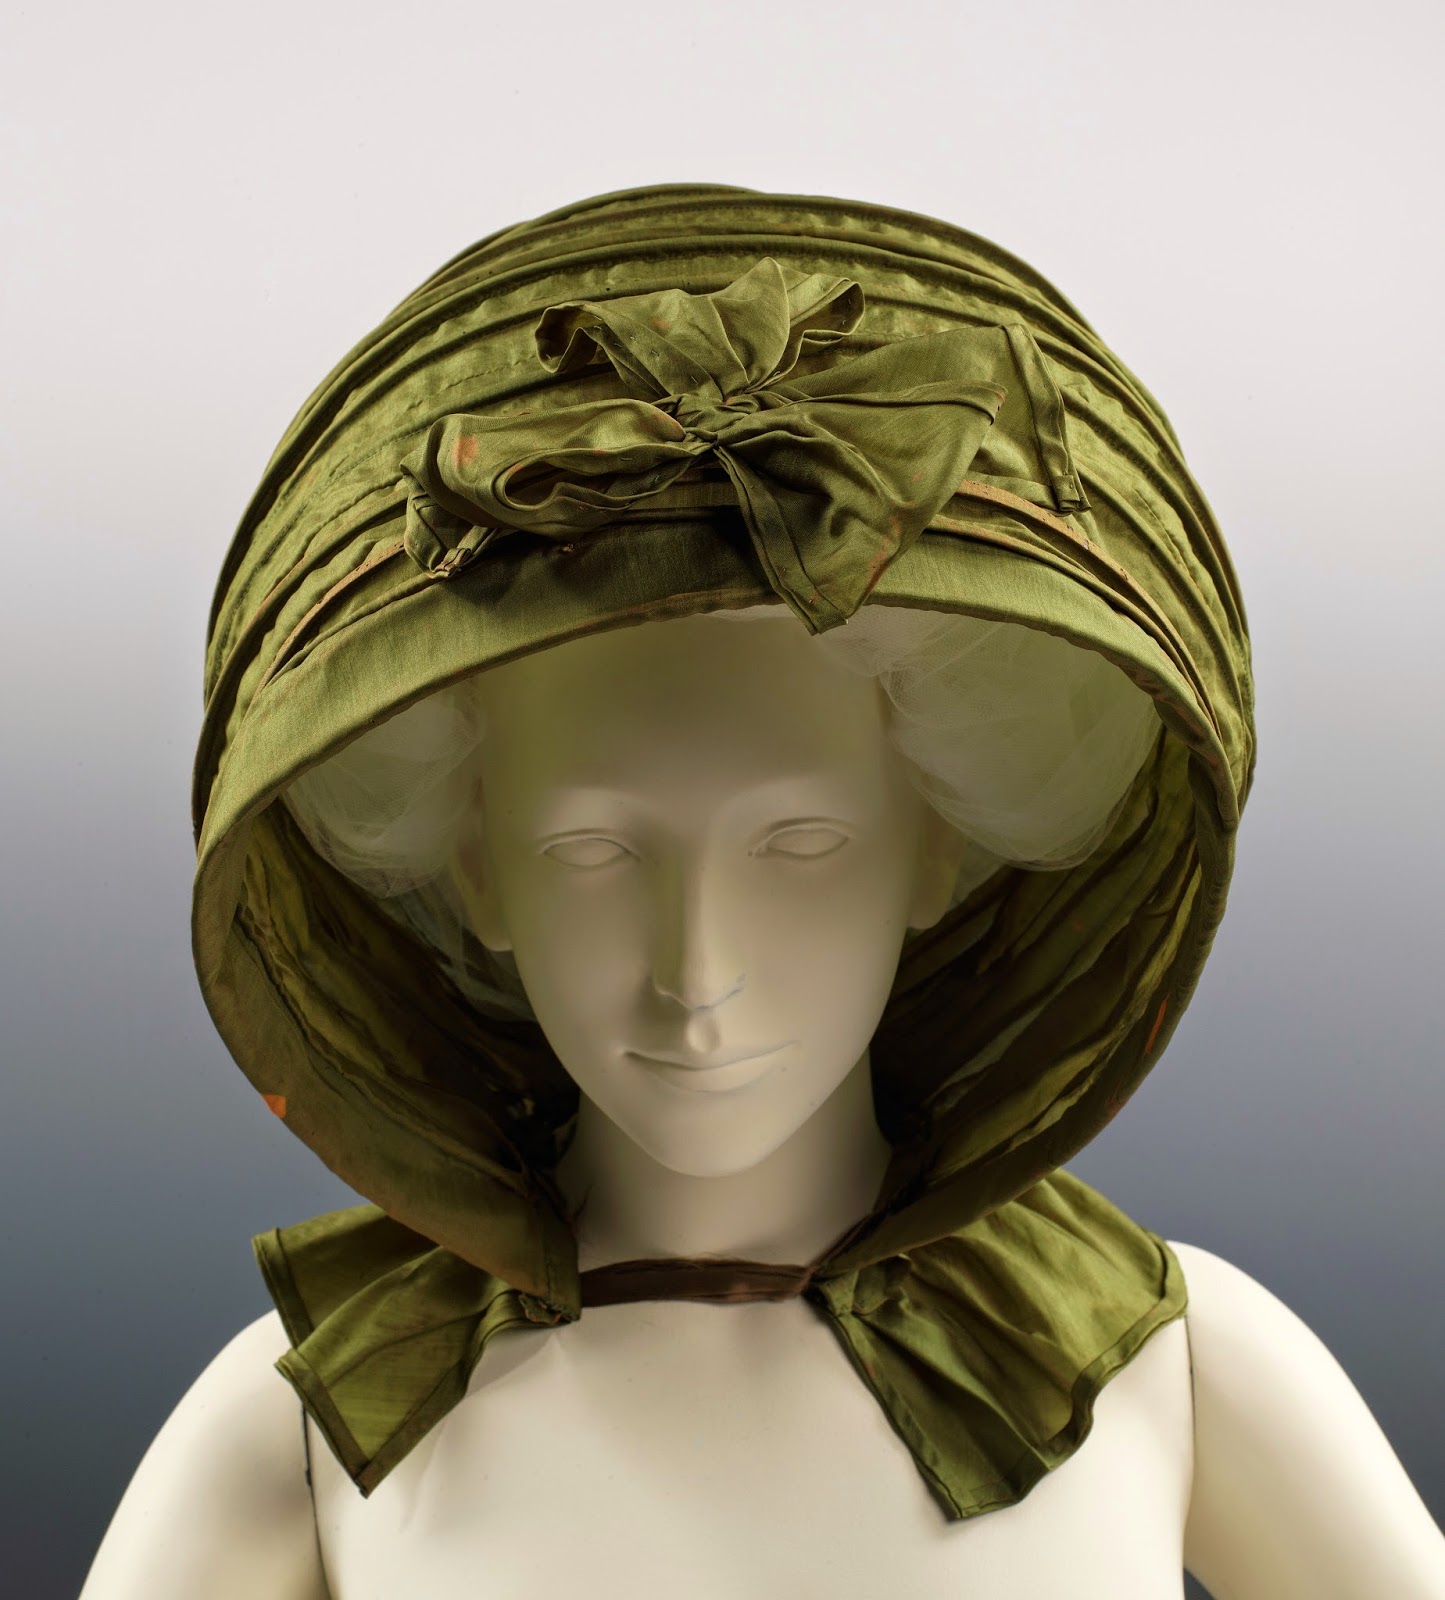
4. Some calashes have (like the green one above) extra decoration (I love that extra bow on the green one!).
5. Although you don't see them on the pictures, I would think they had a small ribbon somewhere to pull them up agains the wind and over the head.
6. Both calashes have a sort of brim in the front, the green one has a rather straight one that might be padded with an extra layer of stiffer fabric, the violet one has some sort of double ruffle. Anyway, neither of them ends with a bone but with something decorative.
Personally I like the shape of the green one best, not very bulky and ruffly. So that's the shape I was trying to achieve.
13 boning chanels, 2 thereof in the back so slightly shorter. aprox. 2 inches apart?
in between fold to the inside, w/o boning.
2 bows.
supposedly flat back.
simple straight brim in front, possibly stiffened.
simple self fabric ties.
I've had particular fun with the reed I've used. It came in a round bundle and gave the whole thing the shape of an orange. But I wanted horse-shoe. My mock-up wasn't promising. So after doing some research into reed (which led me to most informative sited about basket making...) I've learned a lot of new stuff. Did it help the calash? Who knows.
So here we are, this is my version of a calash. Sorry, no big hair day... :)
 |
 |
| Also not a big smiley face day. Could be worse, though. |
|
| my favourite view. |
And for everyone who's made it this far: Here's an experimental pattern. It's not complete and will still take a bit of fiddling I'm afraid, but then I'm not a professional pattern person and it's free. ;) The pattern is in English. Sort of.
Calash Pattern.pdf
Enjoy your day!
(PS: No, it's not entirely handsewn, I've used the machine a fair bit, because I wasn't convinced it would turn out okay... shame on me... I would recommend sewing the boning channels on the outside by hand, though... if you want to do it half-properly... but well... next time...)
grossartig!
ReplyDeleteOh my gosh...I have wanted to make one of these for a while! You have totally enspired me to seriously consider making one! You have done a most fabulous job on yours!! I found a pattern on Wingeo, but I think I'll check you the pdf pattern you have posted! So very incredible!!
ReplyDeleteBlessings!
Gina
Hi Gina, the pattern is really easy. It's just squares. I have used reed for boning. THere are many options for the back panes and boning number and arrangement, this is just my version, I think generally anything goes. :) Try it, it is a very satisfying project. And quick (one weekend).
DeleteOk, I love quick and easy!! And squares are perfectly fine in my book...as long as there is NO math!! hahahaha!! Hhhhmmm...Ok, so this I will have to give serious thought...thanks for the encouragement!!!
DeleteEine wundervolle Arbeit! Und vielen Dank, dass Du alles nochmal in einem Tutorial zusammengefasst hast.
ReplyDeleteEs war übrigens sehr lustig dem Entstehungsprozess der jetzigen Calash ein wenig beiwohnen zu dürfen ;)
haha, ja der Entstehungsprozess ist ja immer das Spannendste, finde ich. Es ist dann manchmal fast schade, wenns fertig ist. ;) Die Anleitung ist ja nur ganz knapp und lässt noch viel Luft für Experimente (und wahrscheinlich auch Missverständnisse...) - aber dank Bildern ist ja das Ziel klar. :) Es hab ja auch noch Calash bonnets in bis in die 1830er... blinzel... Sabine... ?! :)
Delete